kako
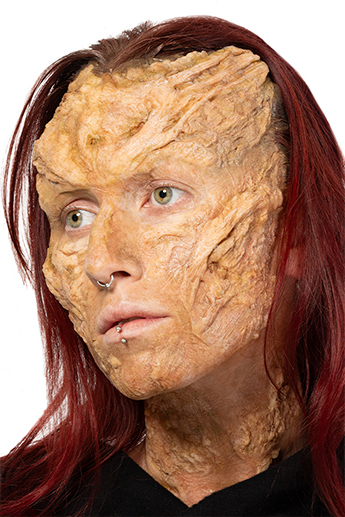
SFX Forest Creature
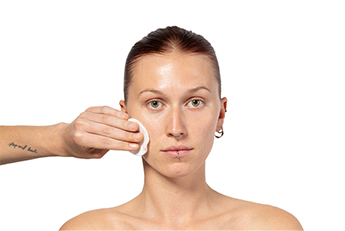
Step 1
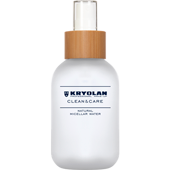
Achieving a clean and refreshed complexion is easy with Natural Micelarna voda 120 ml. Start by pouring some product onto a cotton pad, and with a gentle hand, sweep it across the entire face. This simple yet effective step serves as a thorough cleanse for your skin. The Natural Micellar Water effortlessly lifts away impurities, make-up, and daily grime, leaving your skin feeling fresh and rejuvenated. It's a quick and hassle-free way to maintain a clean and healthy complexion, ensuring your skin remains at its best.
Achieving a clean and refreshed complexion is easy with Natural Micelarna voda 120 ml. Start by pouring some product onto a cotton pad, and with a gentle hand, sweep it across the entire face. This simple yet effective step serves as a thorough cleanse for your skin. The Natural Micellar Water effortlessly lifts away impurities, make-up, and daily grime, leaving your skin feeling fresh and rejuvenated. It's a quick and hassle-free way to maintain a clean and healthy complexion, ensuring your skin remains at its best.
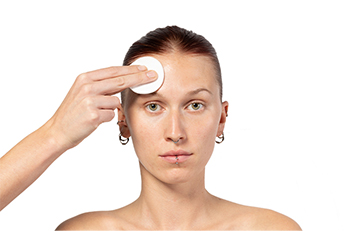
Step 2
Next, take a small amount of Isopropyl Alcohol 50 ml and apply it to a cotton pad. Then, gently sweep the cotton pad over your forehead and cheeks, being careful to avoid the sensitive eye and mouth areas. This process helps eliminate any unwanted surface oils, leaving your skin feeling refreshed and less oily. It's a straightforward method to maintain a clean and shine-free complexion, ready for SXF applications.
Next, take a small amount of Isopropyl Alcohol 50 ml and apply it to a cotton pad. Then, gently sweep the cotton pad over your forehead and cheeks, being careful to avoid the sensitive eye and mouth areas. This process helps eliminate any unwanted surface oils, leaving your skin feeling refreshed and less oily. It's a straightforward method to maintain a clean and shine-free complexion, ready for SXF applications.

Step 3
To safeguard your skin from adhesives, take a moment to apply Marly Skin - pjena za zaštitu kože. This specialized product serves as a protective barrier for your skin, creating a shield against the potential irritants in adhesives. By applying a thin layer of this foam, you ensure that your skin remains safe and comfortable, even when using adhesive products. It's a simple yet effective way to prioritize the well-being of your skin, helping you achieve your desired look without any concerns about skin irritation or discomfort.
To safeguard your skin from adhesives, take a moment to apply Marly Skin - pjena za zaštitu kože. This specialized product serves as a protective barrier for your skin, creating a shield against the potential irritants in adhesives. By applying a thin layer of this foam, you ensure that your skin remains safe and comfortable, even when using adhesive products. It's a simple yet effective way to prioritize the well-being of your skin, helping you achieve your desired look without any concerns about skin irritation or discomfort.
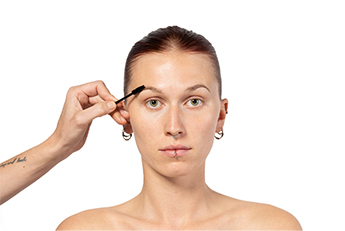
Step 4
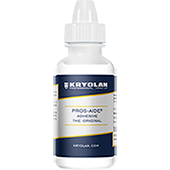
Follow these steps to achieve a sleek and flat look for your eyebrows. Begin by applying a small amount of Pros-Aide - Original - 15 ml to your eyebrows. Using a brush, gently and evenly spread the Pros-Aide through your eyebrow hairs, working to flatten them against your skin. This technique ensures a smooth and streamlined appearance, ideal for creating a clean base for make-up applications or achieving a specific look. It's a straightforward method that helps you achieve precise control over your eyebrow shape, ensuring they stay in place as you desire.
Follow these steps to achieve a sleek and flat look for your eyebrows. Begin by applying a small amount of Pros-Aide - Original - 15 ml to your eyebrows. Using a brush, gently and evenly spread the Pros-Aide through your eyebrow hairs, working to flatten them against your skin. This technique ensures a smooth and streamlined appearance, ideal for creating a clean base for make-up applications or achieving a specific look. It's a straightforward method that helps you achieve precise control over your eyebrow shape, ensuring they stay in place as you desire.
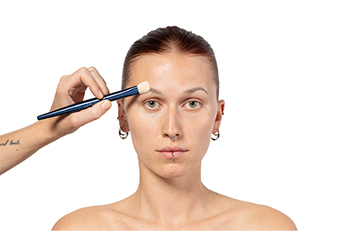
Step 5
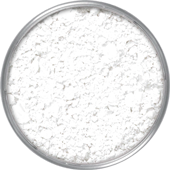
To eliminate the tackiness of the Pros-Aide - Original - 15 ml on your eyebrows, consider this simple yet effective technique. After applying the Pros-Aide, take some Translucent puder 50 g (TL 1) and gently dust it over your eyebrows. This step serves to set the Pros-Aide and create a non-sticky, matte finish. It not only ensures your eyebrows stay in place but also provides a clean base for further make-up application. This method is a quick and practical way to work with.
To eliminate the tackiness of the Pros-Aide - Original - 15 ml on your eyebrows, consider this simple yet effective technique. After applying the Pros-Aide, take some Translucent puder 50 g (TL 1) and gently dust it over your eyebrows. This step serves to set the Pros-Aide and create a non-sticky, matte finish. It not only ensures your eyebrows stay in place but also provides a clean base for further make-up application. This method is a quick and practical way to work with.
Step 6
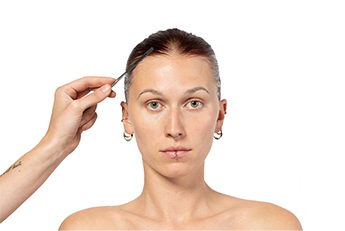
Before applying your prosthetic, it's crucial to apply GF-Qat N Soft 100 ml along the hairline to create a protective barrier from the silicone adhesive, promoting both secure adhesion and skin comfort during wear. This simple yet essential step ensures a worry-free and lasting prosthetic experience.
Before applying your prosthetic, it's crucial to apply GF-Qat N Soft 100 ml along the hairline to create a protective barrier from the silicone adhesive, promoting both secure adhesion and skin comfort during wear. This simple yet essential step ensures a worry-free and lasting prosthetic experience.

Step 7
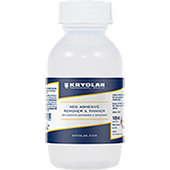
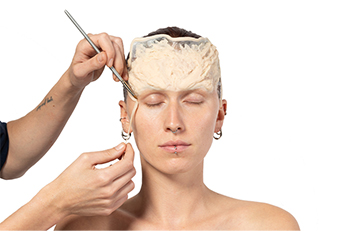
To prepare the Silicone Adhesive NEO Regular Bond 50 ml for application, dilute it by adding a small amount of NEO Adhesive odstranjivač & razređivač 100 ml. Then, use a brush to apply the adhesive onto both the forehead and the back of the prosthetic. Once applied, press the piece onto the skin.
To prepare the Silicone Adhesive NEO Regular Bond 50 ml for application, dilute it by adding a small amount of NEO Adhesive odstranjivač & razređivač 100 ml. Then, use a brush to apply the adhesive onto both the forehead and the back of the prosthetic. Once applied, press the piece onto the skin.
Step 8
After securely attaching the prosthetic with Silicone Adhesive NEO Regular Bond 50 ml, employ a minimal amount of Aceton 100 ml on a brush or Q-tip to dissolve any excess flashing from the prosthetic for a seamless finish.
After securely attaching the prosthetic with Silicone Adhesive NEO Regular Bond 50 ml, employ a minimal amount of Aceton 100 ml on a brush or Q-tip to dissolve any excess flashing from the prosthetic for a seamless finish.
Step 9
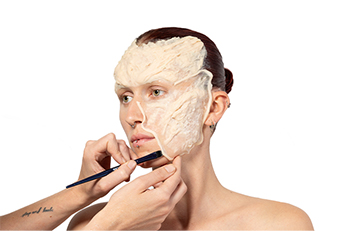
Repeat the same steps as mentioned before to stick on the other prosthetic pieces.
To prepare the Silicone Adhesive NEO Regular Bond 50 ml for application, dilute it by adding a small amount of NEO Adhesive odstranjivač & razređivač 100 ml. Then, use a brush to apply the adhesive onto both the forehead and the back of the prosthetic. Once applied, press the piece onto the skin.
Step 10
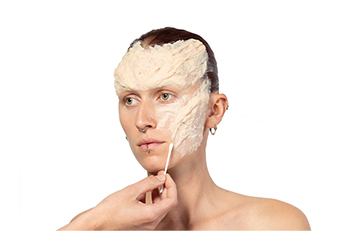
After securely attaching the prosthetic with adhesive, employ a minimal amount of Aceton 100 ml on a brush or Q-tip to dissolve any excess flashing from the prosthetic for a seamless finish
After securely attaching the prosthetic with adhesive, employ a minimal amount of Aceton 100 ml on a brush or Q-tip to dissolve any excess flashing from the prosthetic for a seamless finish
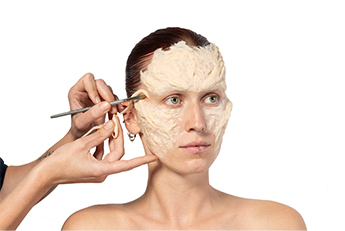
Step 11
Repeat the same steps as mentioned before to stick on the other prosthetic pieces.
To prepare the Silicone Adhesive NEO Regular Bond 50 ml for application, dilute it by adding a small amount of NEO Adhesive odstranjivač & razređivač 100 ml. Then, use a brush to apply the adhesive onto both the forehead and the back of the prosthetic. Once applied, press the piece onto the skin.
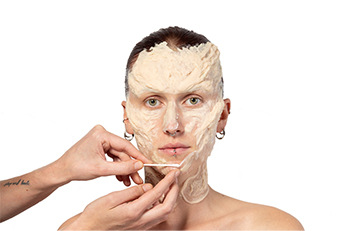
Step 12
Repeat the same steps as mentioned before to stick on the other prosthetic pieces.
To prepare the Silicone Adhesive NEO Regular Bond 50 ml for application, dilute it by adding a small amount of NEO Adhesive odstranjivač & razređivač 100 ml. Then, use a brush to apply the adhesive onto both the forehead and the back of the prosthetic. Once applied, press the piece onto the skin.
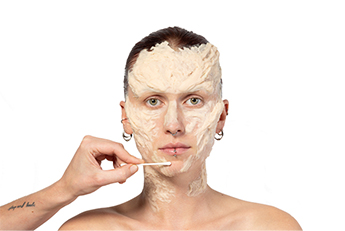
Step 13
After securely attaching the prosthetic with Silicone Adhesive NEO Regular Bond 50 ml, employ a minimal amount of acetone on a brush or Q-tip to dissolve any excess flashing from the prosthetic for a seamless finish.
After securely attaching the prosthetic with Silicone Adhesive NEO Regular Bond 50 ml, employ a minimal amount of acetone on a brush or Q-tip to dissolve any excess flashing from the prosthetic for a seamless finish.
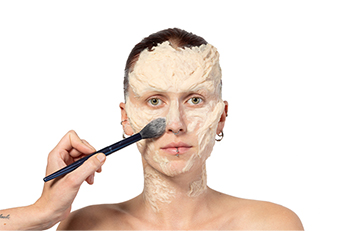
Step 14
To achieve a matte finish and eliminate any residual tackiness, generously apply Translucent puder 50 g (TL 1) all over both the skin and prosthetics, effectively removing the shine for a seamless look.
To achieve a matte finish and eliminate any residual tackiness, generously apply Translucent puder 50 g (TL 1) all over both the skin and prosthetics, effectively removing the shine for a seamless look.
Step 15
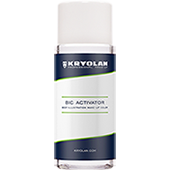
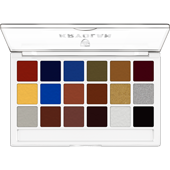
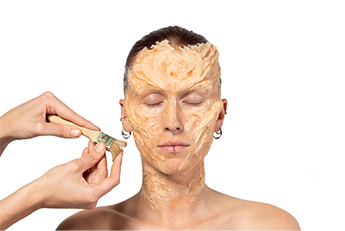
For a dynamic and striking effect, utilize the Body Illustration Make-up paleta 18 boja (FX), activate your selected colors with the BIC Aktivator, and begin with the vibrant 'Shading Red,' using a chip brush to expertly splatter the color for a bold and unique result.
For a dynamic and striking effect, utilize the Body Illustration Make-up paleta 18 boja (FX), activate your selected colors with the BIC Aktivator, and begin with the vibrant 'Shading Red,' using a chip brush to expertly splatter the color for a bold and unique result.
Step 16
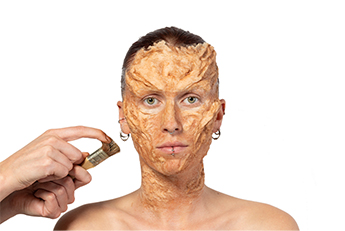
For a vivid and eye-catching result, employ the Body Illustration Make-up paleta sa 10 boja (Bright), activate the desired color 043 with the BIC Aktivator, and then utilize a chip brush to expertly splatter the color for a visually stunning effect.
For a vivid and eye-catching result, employ the Body Illustration Make-up paleta sa 10 boja (Bright), activate the desired color 043 with the BIC Aktivator, and then utilize a chip brush to expertly splatter the color for a visually stunning effect.
Step 17
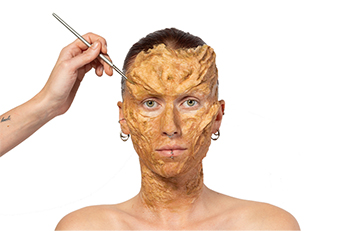
To enhance the depth and detail of the prosthetics, opt for the Body Illustration Make-up paleta 18 boja (FX) again, activate the 'Olive Green' color with the BIC Aktivator, and carefully paint it into the deeper areas for a more realistic and textured appearance.
To enhance the depth and detail of the prosthetics, opt for the Body Illustration Make-up paleta 18 boja (FX) again, activate the 'Olive Green' color with the BIC Aktivator, and carefully paint it into the deeper areas for a more realistic and textured appearance.
Step 18
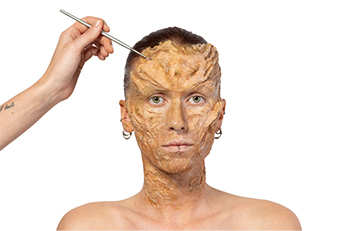
To achieve a nuanced and striking effect, utilize the Coloring Vision paleta sa 18 boja (Effects) and carefully apply the 'Death Grey' color to accentuate and highlight specific areas of the prosthetics for a more detailed and captivating result. Stipple on the product where needed.
To achieve a nuanced and striking effect, utilize the Coloring Vision paleta sa 18 boja (Effects) and carefully apply the 'Death Grey' color to accentuate and highlight specific areas of the prosthetics for a more detailed and captivating result. Stipple on the product where needed.
Step 19
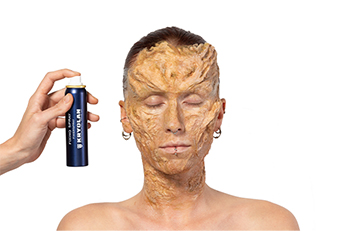
To ensure the longevity of your make-up, complete the process by evenly spraying Sprej za fiksiranje 75 ml all over, effectively sealing and locking in your flawless look.
To ensure the longevity of your make-up, complete the process by evenly spraying Sprej za fiksiranje 75 ml all over, effectively sealing and locking in your flawless look.
Step 20
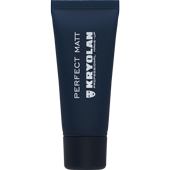
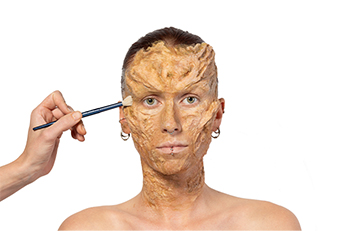
For a shine-free finish, enhance your make-up application by applying Perfect Matt, which effectively reduces any unwanted shine on the skin.
For a shine-free finish, enhance your make-up application by applying Perfect Matt, which effectively reduces any unwanted shine on the skin.
Final

